Friday, December 28, 2012

The Magic Star Earrings and Giveaway!


To celebrate the New Year and my very first original crochet pattern; I'm giving away a copy of the pdf for pattern. Note: this is for the pattern, not the actual crocheted earrings. 


I will draw a winner on Dec. 31, New Year's Eve. 
To enter, leave a comment below. 
I will email the pdf for the pattern to the winner's email address.

Also, since this is my first pattern, I'm looking for feedback on how user friendly my pattern is from the winner. 

Baby, you're a star!.

Really? No one is interested in a free pattern? Or was the time frame to short for comments? I did come up with it on the spur of the moment during the holidays. Ok, I'm going to extend the deadline to Jan. 10th, since there were quite a few page views, just in case you all checked it out after the holidays.

Tuesday, December 11, 2012

Pretty Bit of the Day 12-11-12


                                                             Veggie Love 


Tuesday, December 4, 2012

Pretty Bit of the Day 12-4-12


Ralph Waldo Emerson--A lady with whom I was riding in the forest said to me that the woods always seemed to her to wait, as if the genii who inhabit them suspend their deeds until the wayfarer had passed onward; a thought which poetry has celebrated in the dance of the fairies, which breaks off on the approach of human feet.

Thursday, November 29, 2012

Spirit of the Forest

I've finished the first piece of ceramics I'm really happy with! The Green Man channeled this sculpture through me at class, and He's beautiful! I'm really loving working with clay again, and send a big thank you out to my friend Helen, who kicked it off by giving me her kiln. 
Many adventures to come. 


ps. He's available in my Etsy shop, if you'd like to take Him home.

Dock Seed Cake

I came up with this recipe for this month's Wild Things Roundup, the theme of which was "Seeds" 

To check out more interesting forager recipes, be sure to click on the link above!

My first ambition with this recipe was to make donuts. I'm obsessed with donuts since I found this donut pan from Wilton.


While looking up the image, I see they have a heart-shaped donut pan. Love.

Now I haven't had a donut in over 10 years, since going gluten-free. You may remember my wistful post a couple months ago about picking up donuts at VooDoo Donuts for the bf. Admittedly, these are more like donut-shaped cupcakes, but they're close enough to make me very happy.

That said, upon trying the first batch, I felt the dock seeds had a hearty texture that didn't really seem 
donut-y, so, I poured the rest of the batter into a jelly roll pan and made a low cake. I still was a little iffy on the texture for a cake, but the bf said they were good and grabbed three to take to work. Go figure, I'm usually the earthy one. 


So, here's the recipe:

4 eggs
1/2 cup unsweetened grape juice, or other liquid of choice
1/2 cup molasses
1/2 cup grated carrot or other veggie, pumpkin for example
1/3 cup melted coconut oil
1 tsp. vanilla
3/4 cup almond flour, although this was a bit moister than I like, I may try up to 1/2 cup rice flour next time
1/2 cup ground dock seeds
1 tsp. baking soda
pinch of salt

Mix wet ingredients in a bowl. Mix dry ingredients in a bowl. Add one to the other.mix thoroughly pour into well-greased pan of choice. Bake at 350* for approximately 30 minutes, times vary with your oven and altitude. Cake will be firm when done. I always find I need to cook gluten-free recipes a little longer than I think I do. When you think it's done, leave it 5 more minutes.

Tuesday, November 27, 2012

Dehydrating Tomatoes

Growing tomatoes is a challenge every year here in Seattle- will it be warm long enough for them to produce fruit? So far I get very few ripe tomatoes, and a bunch of green tomatoes, but that's better than last year, when the plants just started flowering when the frost hit. This year we had a long Indian summer after a very cool spring and early summer, so it was a good year.... I'm also learning about hot spots in the yard, and propagation methods, so maybe next year jackpot?. Luckily, the tomatoes at the Community Orchard I volunteer at went wild. At the end of the season they were loaded with green and ripe tomatoes, which we divvied  up, took home and put in paper bags to ripen.
 I had a lot of fun trying out new recipes; especially from a book of Indian recipes titled: Gourmet Indian in Minutes. Most Indian food I've made takes hours, so the title was exciting.... and maybe a bit misleading, as many of the recipes relied on already cooked items, but overall, the recipes were delish and relatively quick.  After a bit, though, I was tired of tomato recipes and still had a bunch of tomatoes, so I decided to dehydrate them, as the freezer was full. 

A lot of people add olive oil; but in most cases, I'll be using them in recipes where I'm also sauteing something in oil, so I decided to skip it and just add some oregano and basil.


These are the prepped tomatoes on the dehydrator screen. These are cherry tomatoes.

When finished they looked like this:


They REALLY dried down to a husk, it'll be interesting to see what they are like when I go to use them in a recipe. 

What's your favorite veggie or fruit to dehydrate? This year mine was strawberries.

Side note: I changed the white balance on the camera between shots..... they looked more similar in camera... I'm still learning how to use the digital camera after all these years!


Friday, October 5, 2012

Pretty Bit


I found this unknown caterpillar cocooning on the lilac bush. If there had been more than one I would've  brought it in to put in a jar and find out what came out!

Thursday, September 27, 2012

Nopales Salad

Once again I'm inspired to send a recipe in to the Wild Things Roundup, a monthly foraging recipe challenge. The challenge this month is "Nopales". Have you ever eaten nopales? Many cactuses are edible, but nopales are tasty, both for their paddles, and depending on the species, for their fruit, the prickly pear. Sadly, my plants don't make tasty fruits, but the paddles are delish. I find they taste best, when they are not much larger than an outstretched hand; kind of like a tangy green pepper. It's a good idea to wear gloves when handling them, as the little spines will stick in your hands otherwise. I'm fairly stubborn about touching everything with my skin, so I was regretting that a bit in the evening; but by morning they had worn themselves off. Wear gloves. Cut or twist the paddles from the plant, trying to damage the plant as little as possible so that it can recover and grow new paddles.


My recipe is not terribly original, it's like many tex-mex recipes, but it is tasty, so I hope someone out there enjoys it as much as I do. 

This is a mostly cooked salad. It could be done from a grill. I chose to blacken the veggies in a flat cast iron pan. I think it was designed for cooking fish, but I imagine it to be similar to a Mexican comal, and I use it to blacken veggies whenever I am cooking Mexican, which I love, love, love.


Ok, the ingredients:

1/2 large onion, cut into rounds
5 nopales
2 ears corn
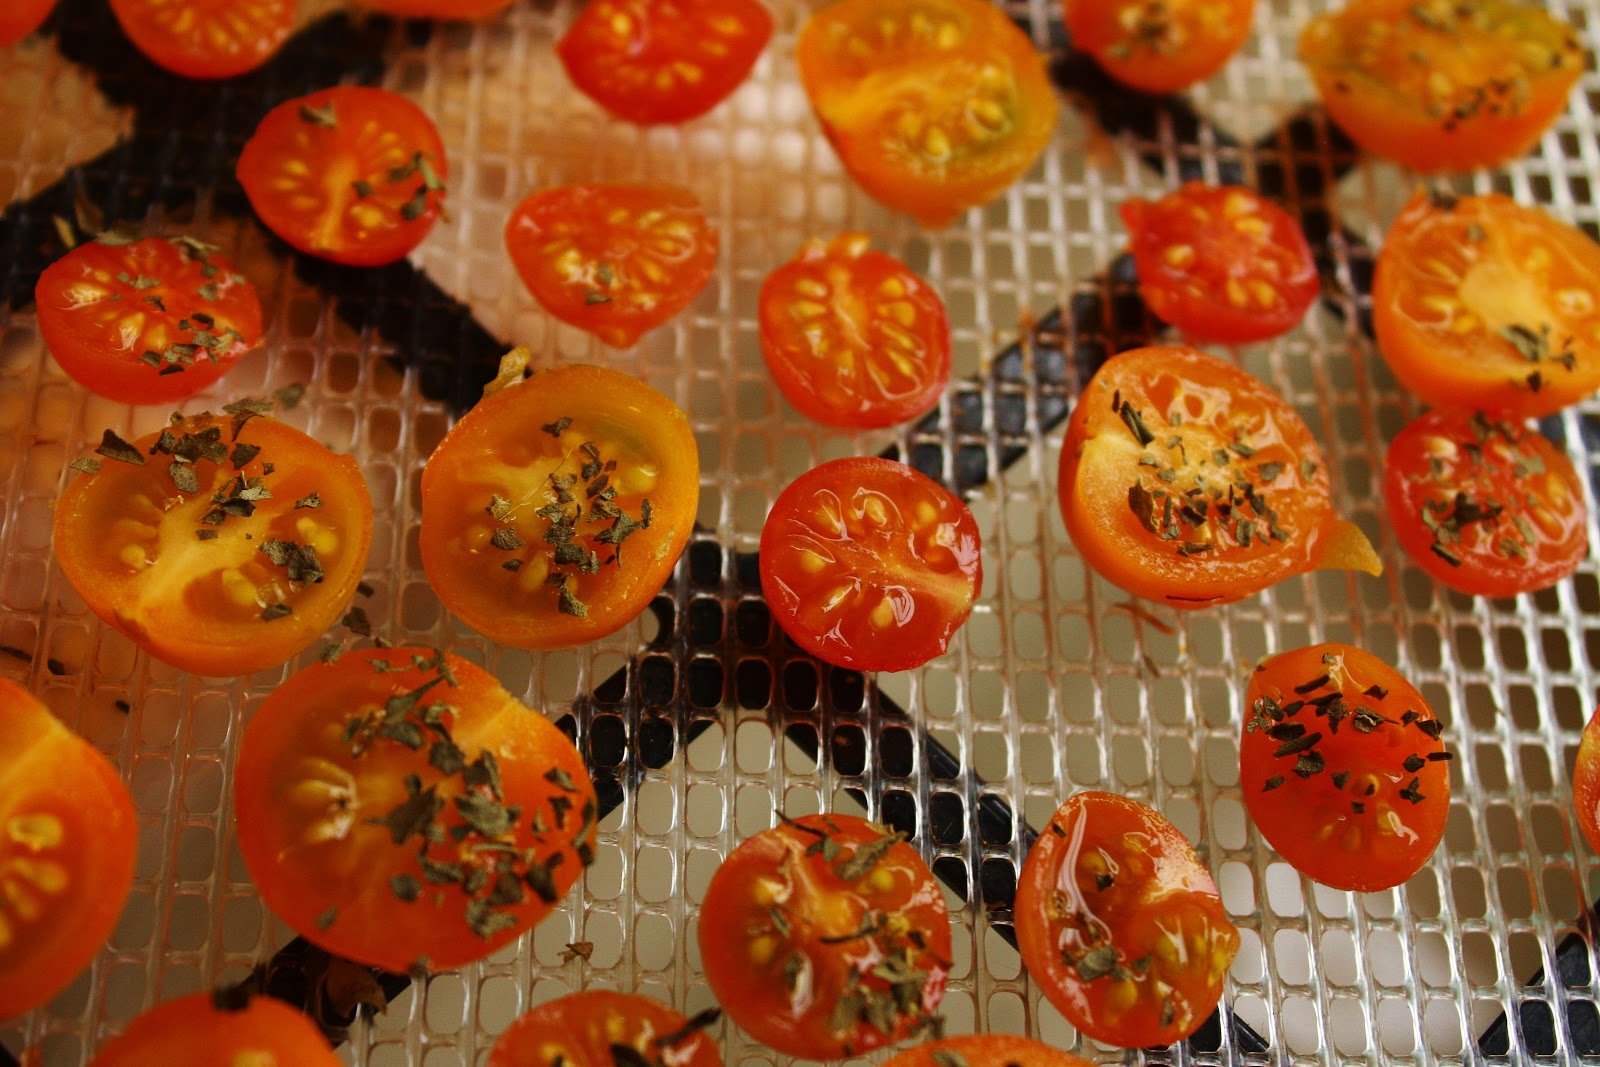
1/2 cup cherry tomatoes, these are adding alot to the flavor, so if you can find vine ripe, it'll be so much more flavorful
2 small mild peppers 
1 small jalapenos, depending on your love of hotness
2 cups cooked kidney or black beans
1/2 cup chopped cilantro
salt to taste
1/4 tsp. ground dried or minced fresh, sage
1/4 tsp. garlic

Adjust the seasonings depending on your own tastes.

I blacken the veggies pretty much in whole form, except for the onions. Transfer them to a plate to cool and then de-seed and/or chop them. 


You need to trim off all the spines on the cactus paddles before cooking. Gloves are still handy for this.
The paddles soften fairly quickly so keep an eye on them. You just want them to get tender. 


I do generally blacken tomatoes in this pan, but as you can see, the cherry tomatoes split pretty quickly, and while they didn't take on a yucky flavor, they were hard as hell to clean out of the pan afterward, so maybe steam them? I'm going to have to do it differently next time, maybe saute would be better.

Grill the onion, peppers (all), corn , and tomatoes, and then chop. I did grill the corn in the pan, it took awhile, probably an actual grill would go faster, or boil or steam them if time is a factor. Cut the kernels off the cobs. Save the cobs to add to soup stock, yum.

Mix the chopped and cut veggies in a large bowl. Add the spices, beans, cilantro and salt and adjust to taste. 

Enjoy!


ps. I can't resist adding this photo from the same batch of a lovely bolete from the back yard, ain't it purty?


Friday, September 14, 2012

Day Tripping

About two weeks ago, I took a day trip to Portland. Yes, it takes me THAT long to edit photos and then post. Taking photos is sooo fun, editing them ... not so much. If I could give budding photographers a tip, it would be, try to narrow your choices to the best ones and concentrate your creativity on getting the best shot out of a few themes, rather than shooting a gazillion (at least) photos which you will spend hours editing. Oh, the multiple shots of one flower I took in the Rose Garden to get the lighting and angle just so.... except when I get back, then I can't decide. This has been an issue since art school, 20 some years ago. Alright, so enough complaining, just show us the shots, you say.

Ok..... I went to the Rose Garden, downtown to my favorite salt store, The Meadow, a store dedicated to salt from all over the world, along with artisan chocolate and bitters, and finished up with Voodoo Donuts.


Squinting, but I wanted the shot with roses in the background.


I liked the juxtaposition of the faded old bloom with the new buds about to bloom.


The Green Faeries came to say "hi" in this shot. :)


I also had fun putting filters on some of the shots......


and Voodoo Donuts, where I can't eat anything, being gluten-free, but I had a great time picking out donuts for the boyfriend who CAN eat them. Some of their donuts are x-rated, .... hey, I didn't name them, but it appeals to my naughty side.


From top left clockwise, the Cock and Balls donut, yes, it's cream filled; I think the bf got a bit annoyed with me over that one, maybe it was my hysterical laughter as he ate it,... the Voodoo donut, with a pretzel "pin", the Dirty Bastard, with smashed Oreo cookies, and the Maple-glazed donut with bacon on top, oh, how I wanted to try that one.


Friday, August 31, 2012

Mushroom Dip

I've been really missing cheese lately and recipes containing cheese,so I determined to try to make some kind of "cheese substitute"; something thick and rich to take it's place. I couldn't come up with anything that really resembled actual cheese, so I decided to go in a completely different direction and just make something paste-like that would taste so good I wouldn't miss the cheese. Why not real cheese? Sadly, I seem to be casein intolerant, according to my naturopath.... All I know is, my digestion is vastly improved without dairy or beef. I tried different types of milk... raw milk... goat milk....nothing worked. Oh, well.

 I've used this Mushroom dip in recipes where cheese would be in the layers rather than as a topping, it was especially good with rice noodles and greens, tasting much like a Thai dish using bean sauce.

Actually, it's very good just on its own, as a dip.

We ate it all before I remembered to take a photo. It was thick, and gooey, and , um, brown.

Mushroom Dip

3 cups chopped mushrooms
1 chopped onion
2 tsp. spices (I used basil and bee balm)
1/2 cup olive oil
salt if, you need it, to taste

Sweat the mushrooms and onions in the olive oil until they are quite soft. Add the spices and simmer for about 3 minutes more. Add salt if you like, but taste it first, because the onions and mushrooms are pretty flavorful. Let cool a bit. Add the whole thing to a blender or food processor and mix until smooth. I like this better served warm.

Monday, August 20, 2012

Home Grown Corn

It was so exciting to make posole from my own home-grown corn! I still have to work on the nixtamalization process, but it was close enough to eat. This is a process of soaking the corn in a lime material (food grade) to remove the outer layer of the corn and make it more digestible and nutritious. If you ever eat tortillas made from corn you will see lime listed in the ingredients, and this is what it is for. It's an alkaline powder made from sea shells or sometimes wood ash. I grew Painted Mountain Corn from Uprising Seeds; a variety that grows well here in the Pacific Northwest. Last summer I did a post about making a corn dolly from the husks; and also my attempts at dying wool with them.

Now I finally got around to eating them!


Sunday, August 19, 2012

the No-Poo-Doo

I have finally, after a couple of tries, converted to the No-Poo-Doo. What's that? It's about ditching the shampoo habit. Believe it or not, expensive shampoos are not really necessary, like many other "beauty" products and may even harm your health and your hair. Even the so-called "natural" ones seem to always have a bunch of chemical-ly ingredients. The hard part is that I have very fine hair, and have been in the habit of washing it daily with shampoo for years. The problem with that is all those washings strip the natural coating of oils away that the body uses to naturally coat the hair; causing the scalp to frantically produce an overabundance of oil to compensate, thus creating a vicious cycle. It can take a bit of time to convince the scalp to trust that I will not throw those harsh chemicals at it anymore, and that it's safe to restore a natural balance to the scalp. The scalp, which has been used to this cycle of overabundant, quickly produced oils followed by stripping by detergent, can become a bit crusty in the transition period; so it can take some time to convert, in my case, several months. I was determined to follow through this time..... I really want to minimize my chemical footprint; both for my own health, and for the environment, as well as spending less money on unnecessary products.  I'd read several blogger experiences, and the most popular way to do this (because you do actually clean your hair, ha!) is to use baking soda diluted with a little water, followed by a rinse of a little apple cider vinegar in water. This cleans the excess oil out of your hair without stripping it. I personally didn't like the feel of my hair with the acv; my hair is very fine and it felt lifeless, so I opt for a rinse of blackberry leaf infusion (tea) instead, which is lighter and smells good, too. I found this option in Mother Earth News 's newsletter.

I use about 4 tbsp. of baking soda (fine hair = don't need much) and mix enough warm shower water into the jar to form a fairly thick paste that will pour out onto my hair; leave it in my hair while I soap other parts of my body with a nice Ayurvedic soap we found that also happens to be cheap and smells good. After a few minutes I rinse the baking soda solution out and use the blackberry infusion. I let the blackberry leaf tea cool before I use it, because the cool rinse helps close the cuticle of the hair back down and smooths out the hair.

Now, to start out, it was tough. I would go an extra day between washings and kept trying to extend that, till I got to about 3 or 4 days between washings, and if my hair was greasy I put it up in a ponytail or braids so it wouldn't bother me. Once I got to that point, I started watering down my shampoo, and when I finished off the bottle, I switched to the baking soda and blackberry. Sometimes if I have been outside (pollen) or out in a bar or sweaty, or I'm hormonal (you girls know how that goes), I will just do a rinse with the blackberry infusion.

I'm quite happy to be shampoo free. There are a number of products I don't feel are necessary or healthy, that we've been told we need to buy all the time, which I've been slowly giving up. The first was deodorant. About 6 years ago, I had an experience of looking in the mirror and realizing my underarms had turned a weird yellow green color. It kinda freaked me out. So I stopped using deodorant. Unfortunately, it took some time to find something natural that worked on my northern European funk (thanks, ancestors) so, my apologies to everyone for those in-between years. But I'd rather stink than have cancer. I also recently gave up expensive natural toothpaste when I found that just a touch of baking soda on my brush works just as well. Yes, I am having a love affair with baking soda. It works! It's cheap! It's non-toxic! Please don't let me find out it causes cancer or damages the environment.

Me, after about 2 months on the No-Poo-Doo

I did have to get used to a different texture to my hair, there is a feeling of oil to the hair, but it's different feeling than the greasy feeling I used to get using shampoo. My hair has more body and it also seems to fall out ALOT less. (it's normal to have some hair fallout each day, I think, but it used to be ridiculous). 


Saturday, July 28, 2012

July's Pay-It-Forward

To read my original post about the Pay-It-Forward concept, read here.

This month I am featuring An-Magrith Erlandsen and her Tarot of the Pomegranate.


She has been working on this deck of Tarot cards since 1998, starting with the Major Arcana, which have been completed this year! The artwork is fantastic and rich with her years of study of the Tarot. Her web-site is a great source of information if you're interested in learning more about the Tarot. Each month she pulls a card of the month with a detailed reading of the card's meaning and how it's related to the particular month that it was pulled for . Each of her paintings is a 5 foot fine Art oil painting. Along with the deck of cards, she also does performances, mainly in Seattle, combining the Tarot with dance. She has just released a booklet on the Major Arcana for Kindle, with an image of each painting along with it's meaning and symbolisms. You can also find her on Facebook.


Thursday, July 12, 2012

Upcycled T-Shirts and the Golden Mean

I recently made myself a new skirt from two thrift store t-shirts. I've always loved recycling textiles into new items and designing my own clothes; although I am completely self-taught and the learning curve has been quite steep. Let's just say that some of my creations have been, um, different. I love the shape of a mermaid skirt, as I'm a curvy kind of gal; I've also experimented a few time with gores, for the shape and the dramatic look. For this skirt, I had in mind using the Golden mean, as many famous artists, such as Da Vinci and Dali seemed to worship it. To oversimplify, the Golden Mean uses ratios in measurement, where smaller sections of a composition are roughly 1/2 to 1/3 the size of the greater section. I say roughly, because although I understand math concepts fairly well, anytime I am involved in actual measuring, it's a crap shoot. Also, when constructing an actual garment, I wanted the overall look to work, but slight modifications to the ratios are necessary to make it fit. The idea of the Golden Mean is to have a relationship between the parts of the garment to the whole, and create a harmonious and interesting visual effect. So...... with that noble idea in mind, I took my measurements, and decided on a length. The ratios came in mainly in the color blocks and the gores.


As with any good recipe; when designing a garment, one should start with all the pieces and their measurements. Don't forget the seam allowances. 


Next, I began cutting the pieces out of the t-shirts. I found extra large mens' shirts with interesting designs and the colors I wanted at the thrift store for about $3 each. I used two shirts for this design.


Cutting out the gores in two matching pieces, front and back.....


Cutting out the gore inserts from second t-shirt. You can barely see my homemade cutting mat behind it, made from the side of a cardboard box. I can't really afford the professional ones, and I also didn't like the warning that they're made from cancer causing substances, but I can't use a rotary cutter on the cardboard, so I'm still  looking for a better solution to that issue.


Adding the contrasting side panels, gores figured in along the seams....


Since t-shirt material really doesn't unravel, I didn't bother with a hem; I was just really careful about the bottom edges lining up and I used the bottom edges of the shirts for the bottom of the skirt. The waistband, which I forgot to photograph, was a simple folded band with a tie on the front to allow for size adjustment; I suppose elastic could be inserted, but I felt comfortable with the fit as it was. 


The finished skirt!